Monday, June 8, 2015


moong dal halwa recipe


main ingredients:
  • 1 cup moong dal/spilt husked yellow mung lentils
  • 9 to 10 tbsp ghee/clarified butter
  • 4 cardamoms, husked and powdered in a mortar-pestle or ¼ to ⅓ tsp cardamom powder
  • 10-12 unsalted pistachios, sliced or chopped or 10-12 blanched almonds, sliced
  • 1 tbsp golden raisins
to be mixed together:
  • 1 cup full fat whole milk
  • 2 cups water
  • 1 or 1.25 cups organic unrefined cane sugar or regular sugar * check notes
INSTRUCTIONS
  1. soak the moong dal or mung lentils, in enough water overnight or for 4 to 5 hours.
  2. drain and then grind the moong dal to a smooth paste with ¼ or ⅓ cup water.
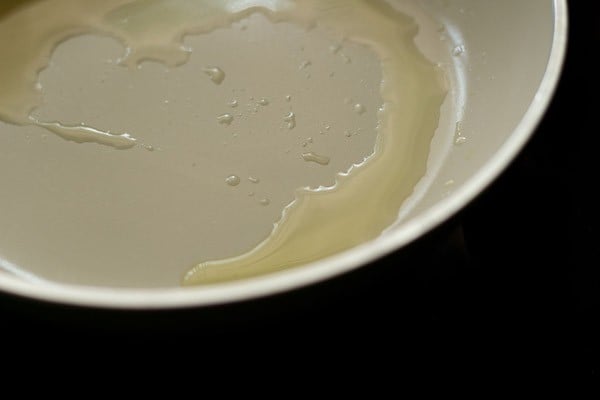
  3. melt ghee in a non stick pan. add the ground moong dal. stir well
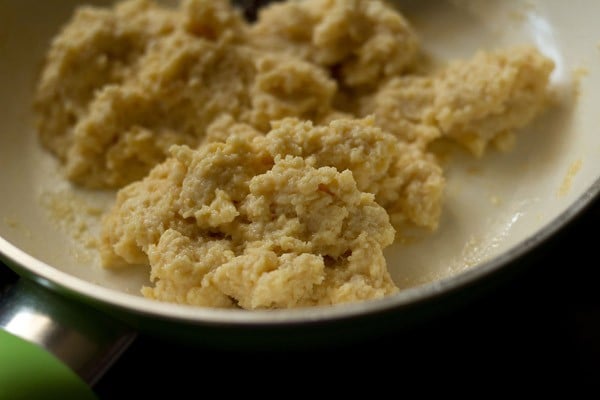
  4. keep on stirring the halwa on a low to medium flame. the halwa has the raw aroma of the moong lentils and it should go away completely before you start with the next step. so till then you have to stir and cook the halwa. the halwa first is pasty, then starts getting lumpy and then starts breaking down and getting separated with the fat releasing from the sides. break the lumps while stirring.
  5. meanwhile when the halwa is cooking, in another pan or kadai, take milk, water and sugar. keep this pan on the stove top and stir so that the sugar dissolves. on a low or medium flame, heat this milk-water-sugar mixture till it comes to a boil.
  6. the moong dal mixture should reach a granular consistency before you add the hot milk mixture. you should get a fried aroma from the mung lentils and the color should become a light golden. the fat also should get separated.
  7. when the milk mixture comes to a boil, add it to the fried mung lentils.
  8. the mixture sizzles, so be careful while adding the hot milk and water mixture.
  9. stir well. simmer and cook stirring often.
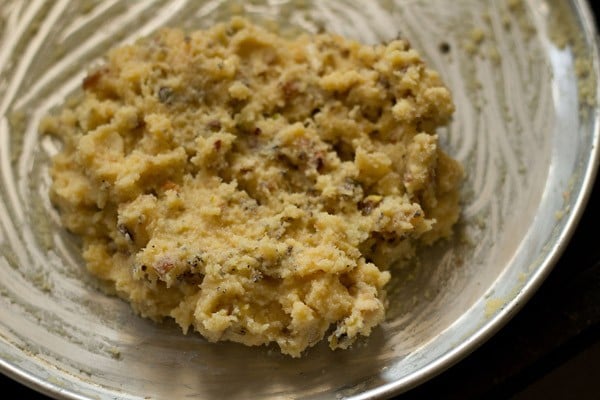
  10. the liquid should get absorbed and once again you will see the ghee getting separated.
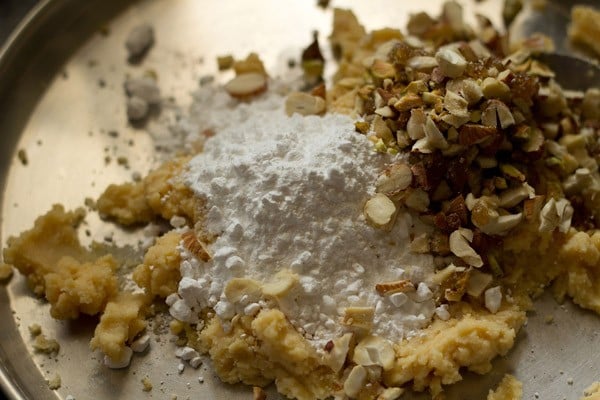
  11. lastly add cardamom powder, chopped pistachios and raisins.
  12. serve moong dal halwa hot. you can also garnish with some pistachios and serve.
NOTES
* 1 cup sugar is just sweet which we prefer. for more sweetness you can add 1 or 2 tbsp more of sugar or add ¼ cup sugar extra.
* the recipe can be halved or doubled


moong dal halwa recipe with step by step p – a popular and rich halwa recipe from north india. moong dal halwa is usually made on celebratory or festive occasions like holi, diwali, marriages etc.
for this recipe i referred a book on the cuisine of uttar pradesh. the whole process takes a lot of time and work from the hands. you have to stir and stir and stir. this is the first time i made this halwa. i was avoiding making the halwa all the times for obvious reasons.
i would suggest to use non stick pan or kadai to make this moong dal halwa. in the step by step pics, you will know why.
moong dal halwa is delicious and one of the sweets you cannot stop eating.  but making this halwa takes a lot of time and effort. so make this halwa on a day when you have plenty of time, patience and energy.

lets start step by step moong dal halwa recipe:

1. soak the moong dal in enough water overnight of for 4 to 5 hours. i soaked the lentils overnight.
2. drain and then grind the moong dal to a smooth paste with some water.
3. melt the ghee.
4. add the ground moong dal.
5. stir well. you see in the pic, from the iron kadai the halwa has shifted to a non stick kadai. when stirring and mixing the halwa in the kadai, it started sticking so much. i did not want to do so much of work… scraping and stirring the halwa. so i shifted the whole halwa mixture to a non stick kadai. it was very very easy to stir the halwa then.
6. keep on stirring the halwa on a low to medium flame. the halwa has the raw aroma of the moong lentils and it should go away completely before you start with the next step. so till then you have to stir and cook the halwa. first the halwa is pasty, then starts getting lumpy and then starts breaking down and getting separated with fat releasing from the sides. in the pic below the halwa is at a stage where it resembles sooji halwa but still with the raw aroma of the mung lentils.
7. so while the halwa is cooking, in another pan or kadai, take milk, water and sugar. keep this pan on the stove top and stir so that the sugar dissolves. heat this milk-water-sugar mixture till it comes to  a boil.
8. meanwhile the moong dal has got separated. they have a granular consistency now. the aroma & color has also changed and the fat has separated.
9. the milk mixture has come to a boil and now needs to be added to the fried moong dal.
10. pour the boiling hot milk mixture to the fried mung lentils. the mixture sizzles, so be careful while adding the hot milk and water mixture.
11. stir well.
12. simmer and cook stirring often.
13. the liquid should get absorbed and once again you will see the ghee getting separated. done finally. it took me a total of about 1 hour to make the halwa on the stove top. add cardamom powder, chopped pistachios and raisins. i forgot to take pic of this one. this is what too much of working and stirring with hands does to you.
14. take a breath of relief, thank your hands. serve moong dal halwa hot.

All halwa are mADE BY THIS PROSSES LIke this halwa made 

till then loving and sweetest readers 
keep eating 
keep cooking 

Saturday, June 6, 2015

pullet A la rex

'poullet A la rex'

(chicken with white sauce)

Ingriedeints:

  • chiken 1kg
  • capsicum 2 medium (jullien cut)
  • onion 1 medium (jullien cut)
  • milk 500ml
  • butter 200gm
  • flour 2tsp
  • salt to taste
  • black peper to taste
  • onion1
  • bay leaf (tej patta) 2
  • cloves 2

Method:

first we make white sauce so we take milk to boil and add into this onion ,bay leaf and cloves then after one boil then milk absorb the  flavour of these things then strain the milk and keep it on a side and take pan add butter or flour and cook it till it mix well (make a blonde roux) after then we add milk into it and boil it till milk is thick then we added jullien of capsicum or onion an boneless peices of chicken and cook it till chicken is cooked and seosone it with salt and peper then serve it. 


so friends plz try this recipe it is wonderfull recipe i ll. give u gaurantee .so freinds see u 

till then 

keep eating ,keep cooking &

keep reading ME (*DEV*)  only on "

"fabulas recipe by dev"


Thursday, June 4, 2015


CARROT VICHY


It is a wonderfull recipe of carrot 
it is very simple to make
if want to eat some sweet so u made thid and enjoy 

lets start 
Ingredints:

  • carrot 2 medium
  • sugar 1 cup
  • water 2 cup

Method:

first cut the carrot into thin slices 
after then blanch (boil in hot water till the food soft) the carrots then put in on the side 
then make a sugar syrup first take a pan and pore some water in it and add sugar the mix it well and add carrots and cook till the all syrup soaked by carrot then served it you served both hot and cold . 

first make it and enjoy.... 

till then see u and keep eating keep cooking
Wednesday, June 3, 2015

"Chiken Kiev"

hello freinds 
i m back with a very special recipe of chiken 


hmmmmmm"""" so delicious or not well this things you tell me after the make the dish and taste th dish 
let start the recipe of chiken kiev


ingredients
  • chiken breast bone less
  • butter 100gms
  • garlic 100gms
  • oregano
  • dry parsley
  • 4 eggs
  • bread crums
  • flour 200gms
  • oil for deep fry


Method

first we clean th chicken breasts and make the pocket with the help of knife in chicken breast then melt th butter in room temprature and add crushed garlic in a bowl seasone with salt origano and parsley after making that mixture fill this mixture in chicken brest pocket properly and tightly after that take a flour in one bowl and eggs in seprate bowl and bread crums in seprate bowl after that take a heavy bottem pan and put oil in that to fry th chicken and swicth on the gas after oil is hot perfect for fry then take a one chicken breast and dip in flour bowl cover equally then dip into eggs and cover it equally after that cover with bread crums properly then pore into the pan for deep frying after 25 minutes you see that colour is golden brown then take out from pan and serve it hot with mayo 


see the magic after taste it 
good bye see u again and keep eating keep cooking 

ohhhhh please comment on my recipes

Saturday, February 28, 2015

Gulab jamun

Ingredients

  • Mawa (khoya)
    1 1/2 cups
  • Chenna
    1/4 cup
  • Soda bicarbonate
    1/4 teaspoon
  • Refined flour (maida)
    3 tablespoons
  • Green cardamom powder
    1/4 teaspoon
  • Sugar
    2 cups
  • Ghee
    to deep fry

Method

Step 1


Grate khoya and mash chenna and keep aside. Mix the two along with soda bicarbonate, refined flour, green cardamom powder and a little water to make a soft dough.

Step 2


Divide into sixteen equal portions and shape into balls. Prepare a sugar syrup with sugar and two cups of water. Clear the syrup by removing the scum, if any.

Step 3


Heat ghee/oil in a kadai. Add the balls and deep fry on low heat till golden in colour. Drain and soak in the sugar syrup for atleast fifteen to twenty minutes before serving.

Chef Tip

Temperature of the oil should be low or the jamuns will remain uncooked from inside. You may stuff Gulab Jamuns with saffron and pistachio nuts or mishri.


keep eating lovely food 

keep readin my blog @ http://devgreatrecepies.blogspot.in/


friends plz give me suggestion of recipes or tell me what recipe u want to learn or want to make plzz give me response if like my recipe my gmail id is : (devk552@gmail.com) or my mob no .: 9999665232


plz plz plz give feedback


Holi recepie

Gujiya recipe

gujiya recipe with step by step pics – sharing both fried and baked version of gujiya for Holi.
gujiya is a deep fried pastry stuffed with a sweet filling of khoya. the do resemble empanadas and very much popular in north india, especially during holi festival. its not they are made only during holi. they are also made during diwali.
this time i did not want to make karanjis and hence made these gujiyas. both karanji and gujiya are similar sweets, except for the stuffing. karanji which is popular in maharashtra has a stuffing of coconut, poppy seeds, sesame seeds and dry fruits. whereas guijiya has a stuffing of khoya with dry fruits. in some variations desiccated coconut is also added. but i do not add coconut to the khoya stuffing.
usually the outer pastry is made of all purpose flour. but you can even make from whole wheat flour. in this recipe, i have added half-half of both the flours.
i baked some gujiya and fried the rest and have illustrated both the baking and fried methods in the step by step pics. texture and taste wise the fried gujiya are definitely much better. however for health reasons and to cut down on the fat you can easily bake these gujiyas.
gujiya is served plain. once they are cooled, then keep them in air-tight box and they stay well for some days.

lets start step by step gujiya recipe:

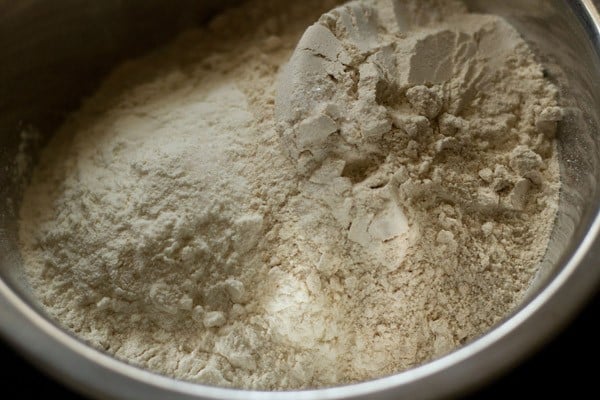
1. take both the whole wheat flour/atta, all purpose flour/maida and salt in a bowl.
(1 cup whole wheat flour + 1 cup all purpose flour or 2 cups of all purpose flour or 2 cups of whole wheat flour *check notes and ¼ tsp salt)
flours for making gujiya
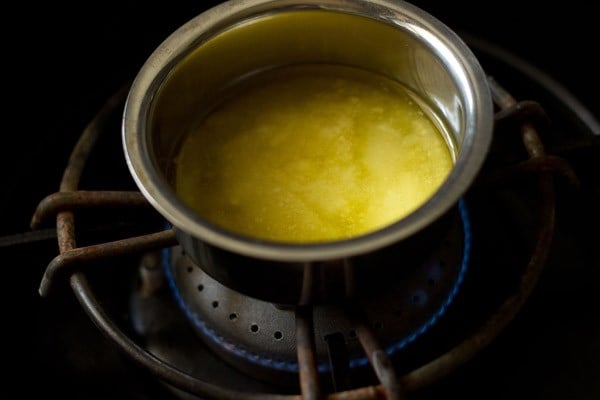
2. heat 2 tbsp ghee in a small pan or bowl.
heat ghee - making gujiya
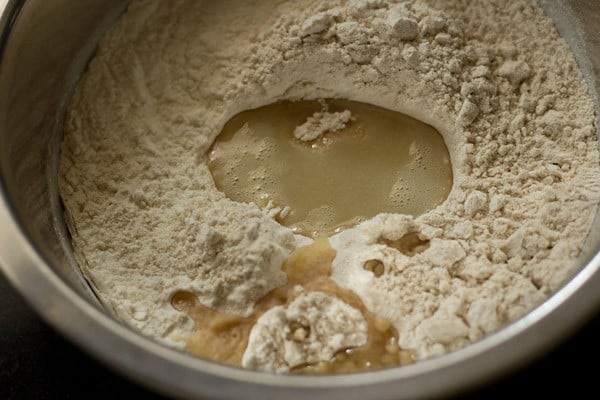
3. pour the ghee on the flours.
add flour to ghee - making gujiya
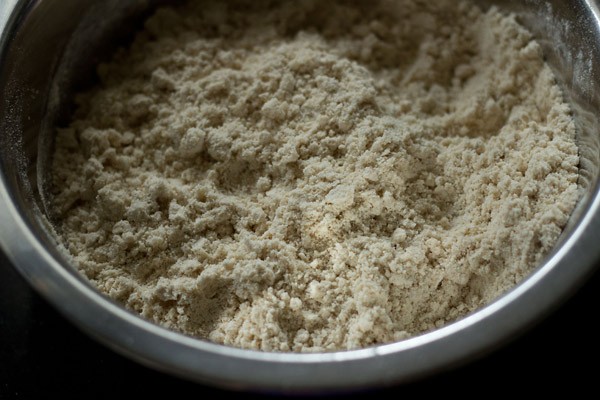
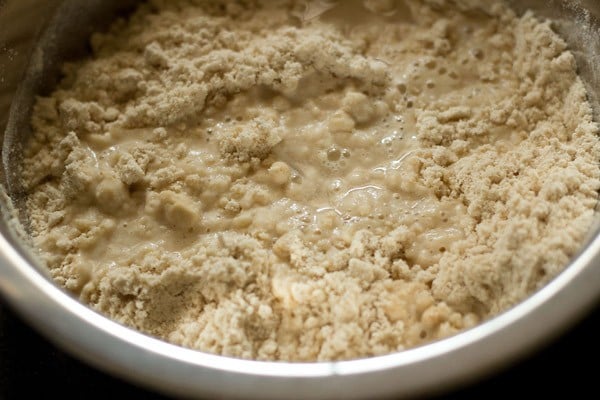
4. rub the ghee with the flours, with your fingertips to form a bread crumb like texture.
flour mixture for making gujiya
5. then add ⅓ to ½ cup water in parts and begin to knead. the amount of water needed will depend on the quality and texture of flour.
knead dough for gujiya
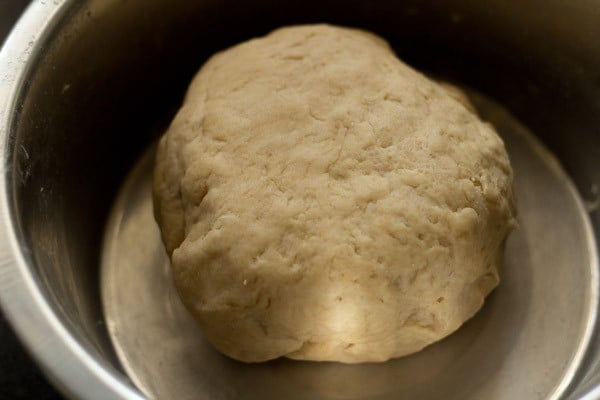
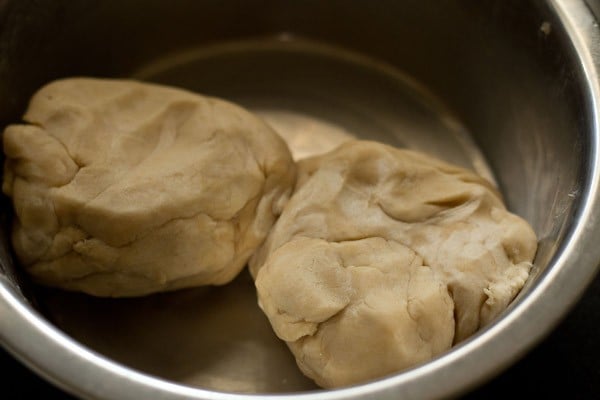
6. knead the dough till firm.
gujiya dough
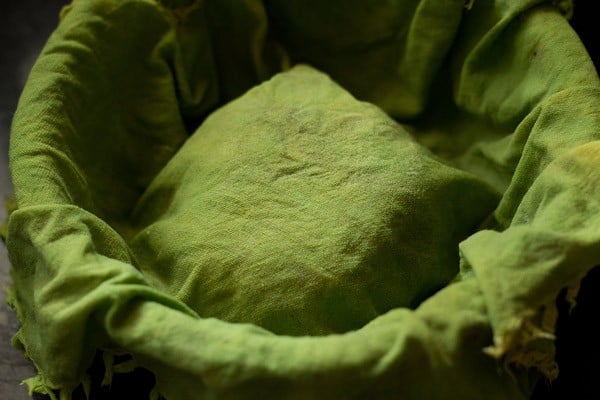
7. cover with a moist cloth and keep aside for 30 minutes.
gujiya dough
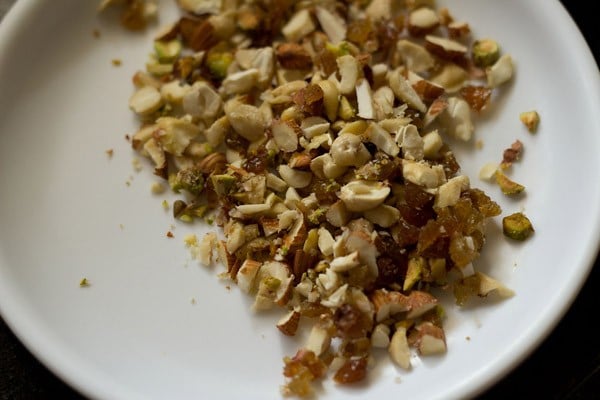
8. chop ⅓ cup dry fruits and keep aside.
dry fruits to making gujiya
9. melt ½ tbsp ghee in a pan on a low flame.
melt ghee - making gujiya
10. add 1 cup crumbled or grated khoya.
add khoya - making gujiya
11. stir the khoya continuously on low heat.
stir khoya - making gujiya
12. cook the khoya till it begins to gather around itself. switch off the flame and keep the pan down. let the khoya stuffing cool down completely.
cook khoya - making gujiya
13. add ⅓ cup powdered sugar, chop dry fruits and ½ tsp cardamom powder. better to seive the powdered sugar if there are lumps. mixing is easier. i did not and had to break the lumps manually.
add sugar - making gujiya
14. mix everything well and keep the stuffing aside. check the taste and add more sugar if you prefer.
gujiya stuffing
15. divide the dough into two parts.
divide gujiya dough
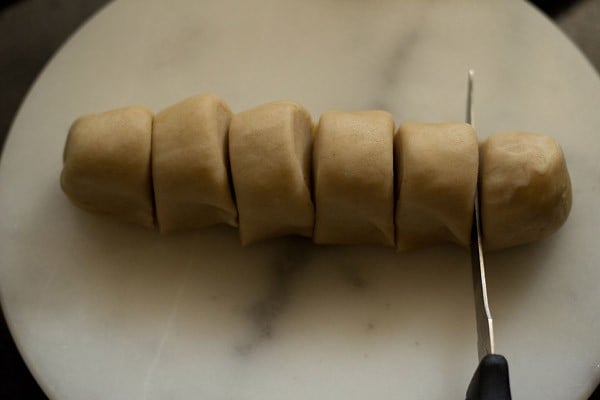
16. make a medium log of each part and slice it into equal parts.
gujiya dough balls
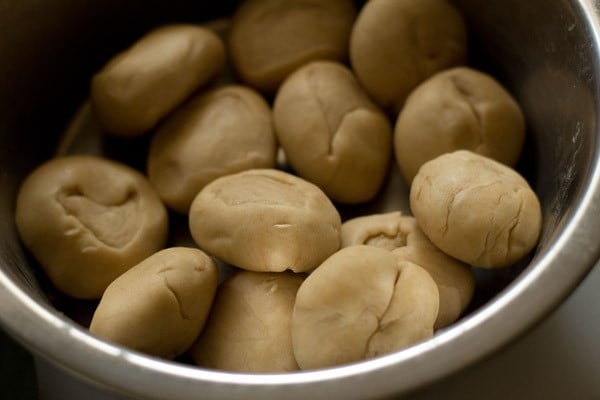
17. roll each part in your palms to form a ball. prepare the dough balls this way and place them in the same bowl. cover with a moist kitchen towel.
gujiya dough balls
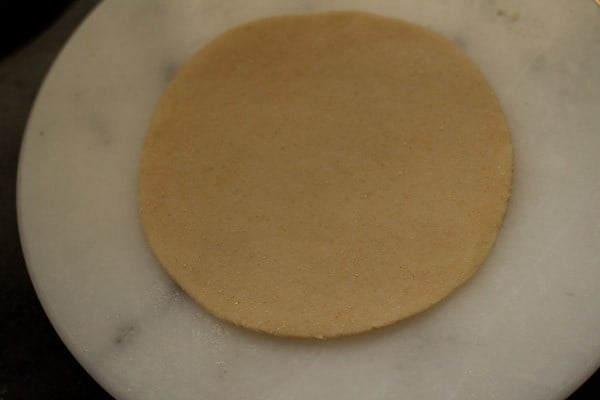
18. dust the rolling board lightly with some flour. roll each ball with the rolling pin to a small circle having 4 to 5 inches diameter. use less flour and if possible you can avoid the flour for dusting completely.
roll gujiya dough
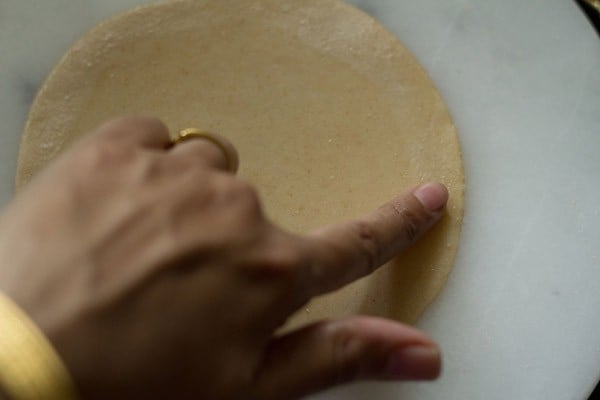
19. with your fingertip, apply water all over the circumference edge.
apply water - rolling gujiya
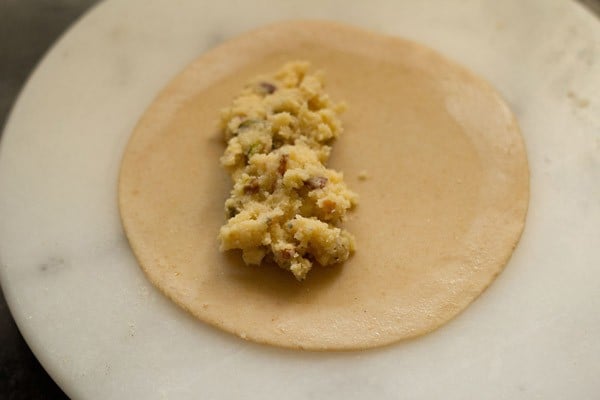
20. place about 1 tbsp or 1.5 tbsp of the khoya filling on one side of the circle, keeping the edges empty.  don’t add too much of stuffing as then its difficult to shape them and the gujiya may break in the oil.
add gujiya stuffing
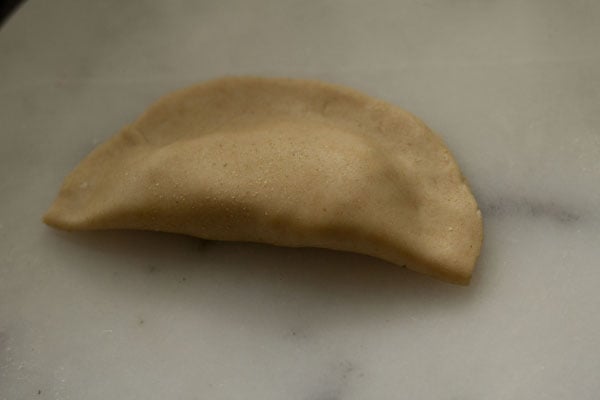
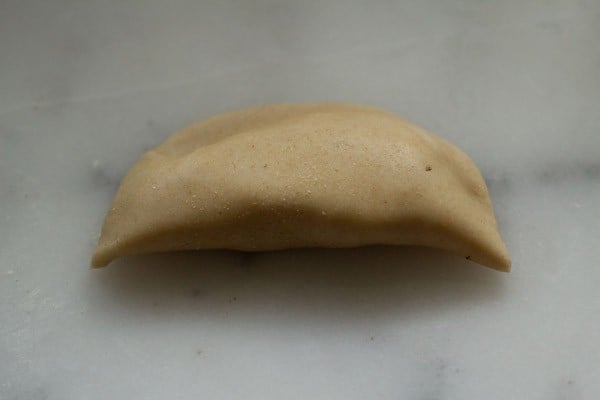
21.  carefully, bring together both the edges and join. gently press the edges. the edges have to be pressed well, so that the filling does not come out while frying.
cover and close gujiya
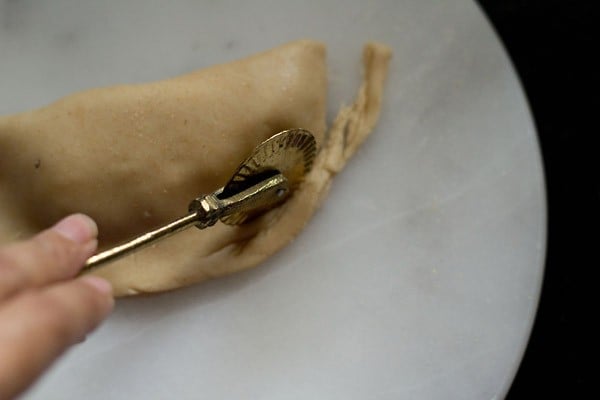
22. with a gujiya/karanji cutter or small pizza cutter, trim the extra edges. when doing this method, its very important that the gujiya is pressed & sealed well. avoid this method if you plan to fry the gujiya. if baking then this method is good. as even if the filling comes out, you don’t have to worry, as there is no mess.
shaping gujiya
23. the neatly trimmed gujiya pic below.
gujiya
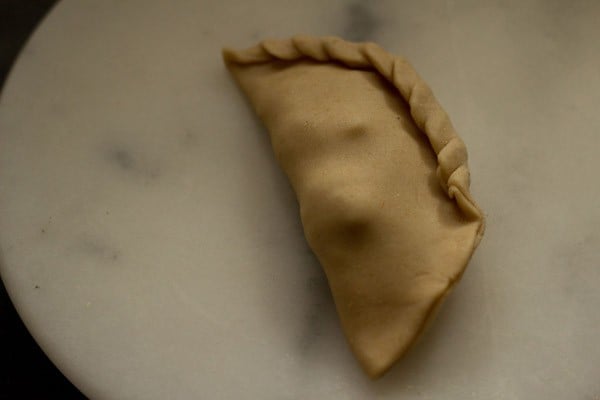
24. however, its best to make pleated design at the edges. this way the stuffing does not come out while frying and the gujiyas look good too. just keep on folding and twisting the edges till the end.
gujiya design
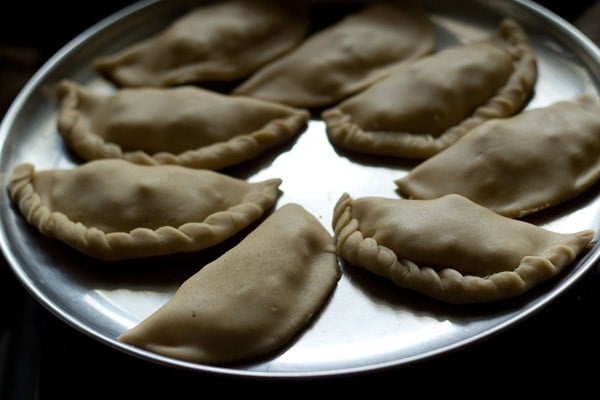
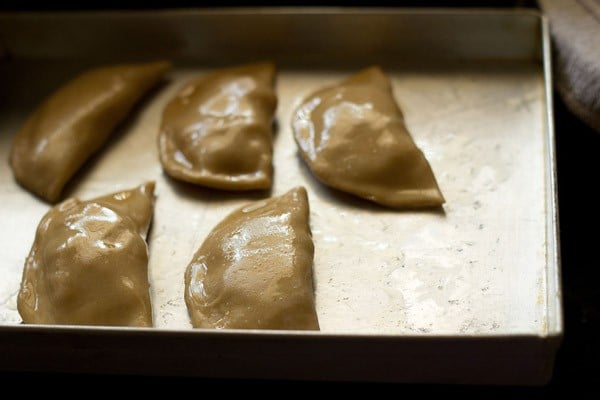
25. prepare gujiyas this way and arrange them on a plate or tray. keep the guijyas covered with a moist napkin so that the dough does not dry out.
gujiya
baking method for gujiya:
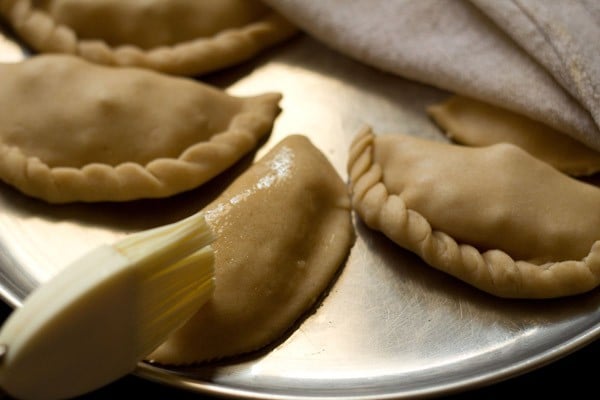
26. preheat the oven to 200 degrees celsius/390 degree fahrenheit. brush oil or melted ghee on the gujiya evenly all over.
apply ghee on gujiya
27. place them in a baking tray.
bake gujiya
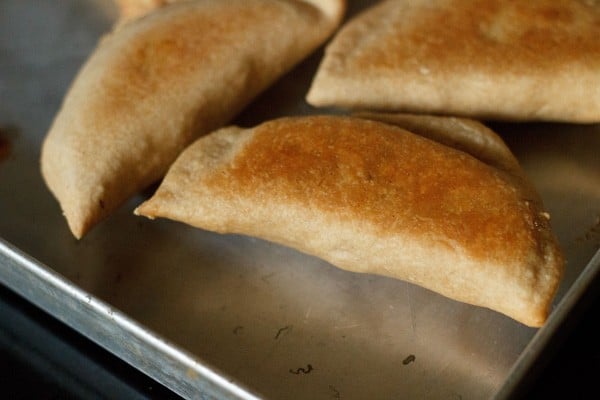
28. bake the gujiya for 20 to 30 minutes at 200 degrees celsius/390 degree fahrenheit till they are golden. oven temperatures vary, so do keep a check while baking the gujiyas. place them on a wire rack for cooling. once cooled, store the baked gujiyas in an air-tight jar or box.
baked gujiya recipe
frying method for gujiya:
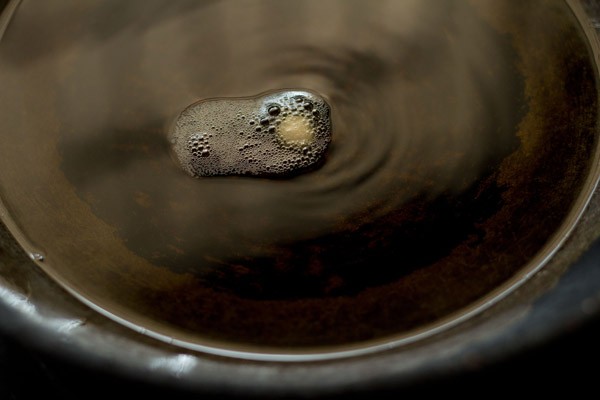
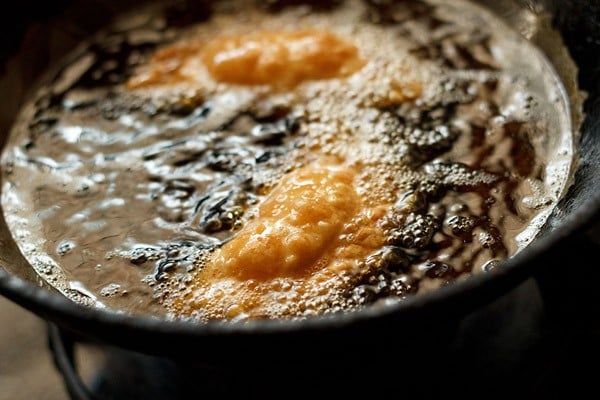
28. heat oil for deep frying in a kadai or pan. first test the temperature of oil, before frying. add a small piece of the dough in the oil. if the dough comes up gradually, then the oil is ready. if the dough sits at the bottom, the oil is still cold. if the piece of dough comes up briskly and quickly, the oil is too hot.
heat oil to fry gujiya
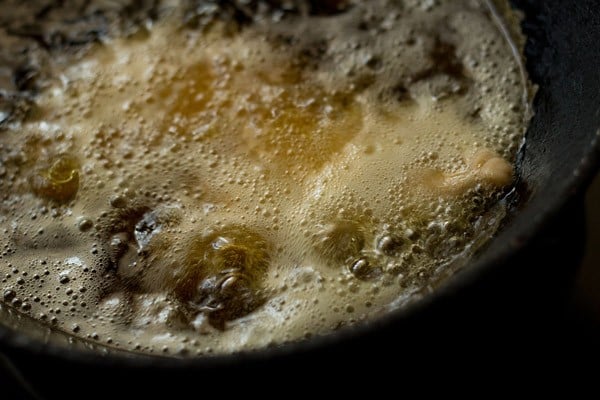
29. gently slid the gujiyas in oil. just add a few pieces and don’t overcrowd. depending on the size of the pan/kadai, you can fry 2 to 3 gujiyas at a time.
fry gujiyas
30. turn them over carefully and fry the other side. deep fry them till the gujiyas have become golden.
fry gujiyas
31. drain on kitchen paper tissues. fry gujiyas this way and once they are cooled completely, store them in an air-tight box.
33. serve gujiyas to your family and guests when required.
Thanks for reading my recepie  i will come back with new recepie good by take care keep eating lovely food